
Apple Crisp with Cinnamon Apples
Every year when apple season kicks off in the mountains of western North Carolina, my kids and I load up and head for the orchards. It’s a tradition that’s been passed down in our family for years—walking through rows of trees, baskets in hand, and filling them with crisp, fresh apples. There’s something about being in those mountains, surrounded by farmers who’ve worked the land for generations, that feels like a true gift from the earth. And of course, once we get home, the apples make their way into pies, sauces, and crisps.
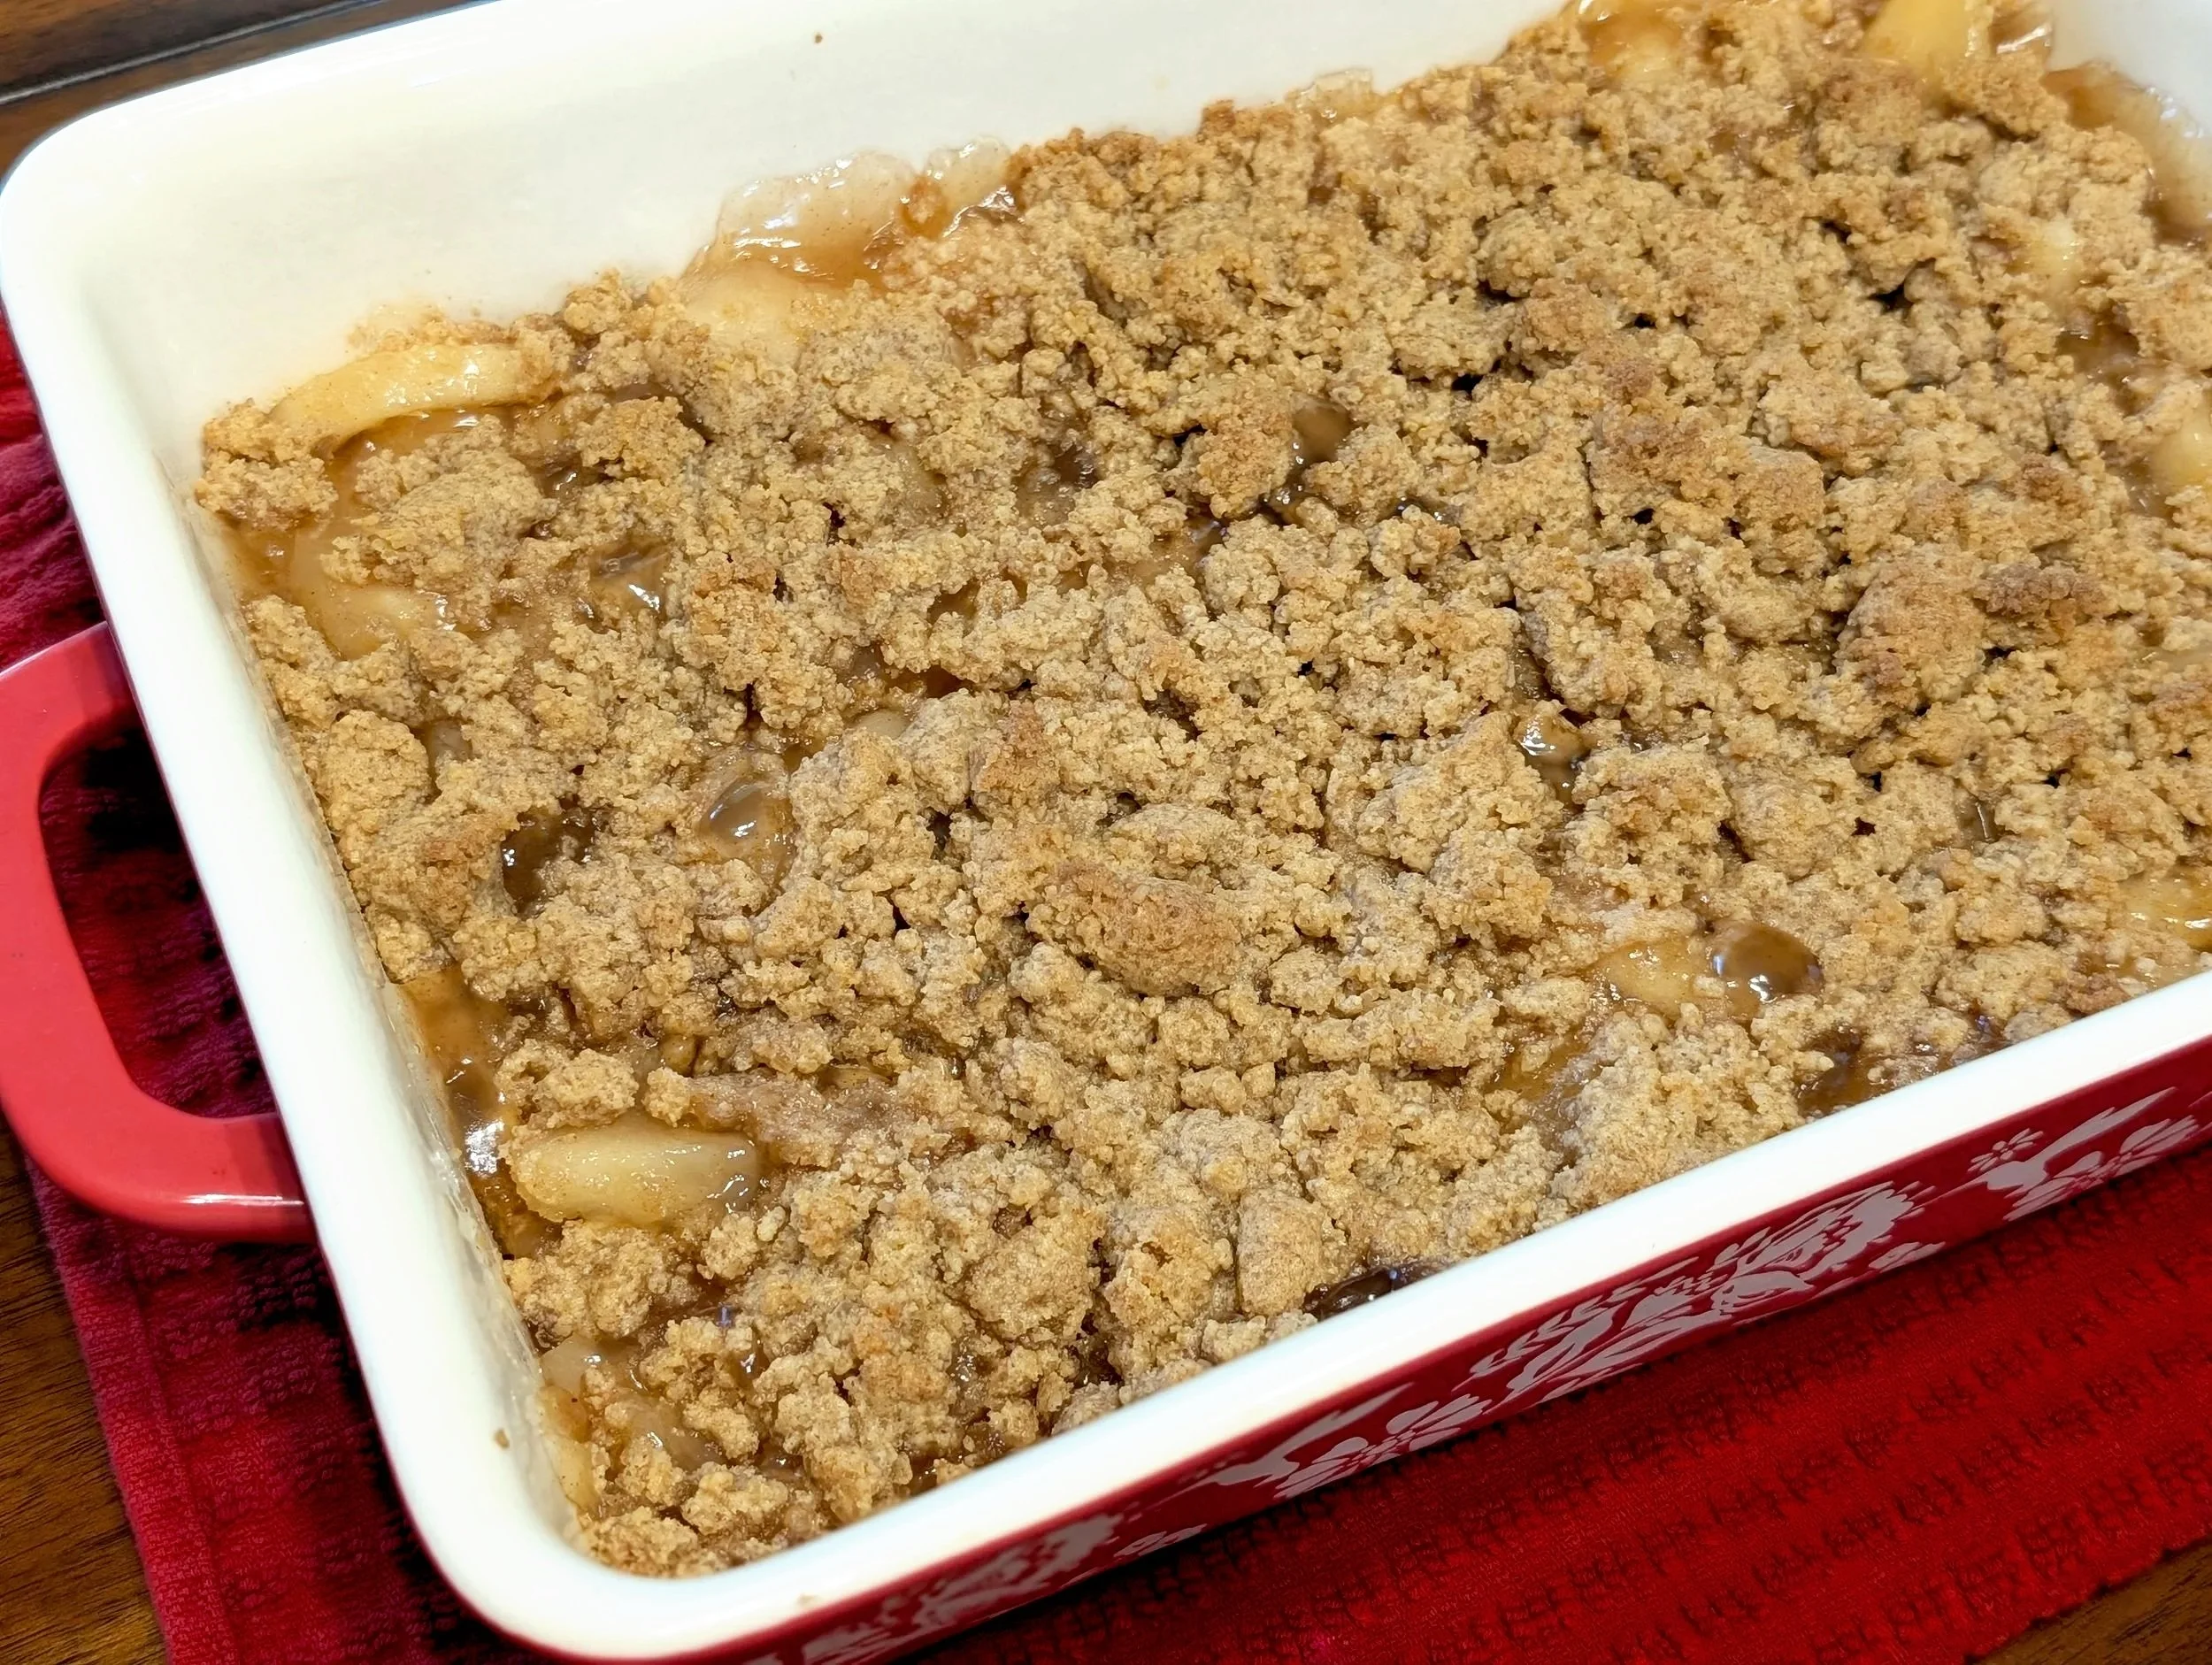
This recipe is one of my favorites because it’s quick, cozy, and packed with flavor. Instead of starting with fresh apples, I use canned cinnamon apples, which means you can enjoy that orchard-fresh flavor anytime of year. The crumble topping is buttery, golden, and just the right amount of sweet. Perfect for serving warm with a scoop of vanilla ice cream.

Prep Time: 10-15 minutes
Bake Time: 35-40 minutes
Total Time: ~1 hour
Ingredients:
2 (20 oz) cans of cinnamon apples pie filling (*I often use Duncan Hines-Comstock brand; if you can’t find the one with cinnamon, just the apple pie filling is also delicious)
1 cup Old Fashioned oats
1 cup all-purpose flour
1 cup brown sugar (packed)
1 tsp cinnamon
½ tsp nutmeg (optional)
½ tsp salt
1 stick (½ cup) unsalted butter, cold and cubed

You will also need:
9x13” baking dish
Mixing bowl
Pastry cutter (a fork will also work)
Instructions:
Preheat the oven: Turn your oven on to 350°F. Spray or lightly butter a 9x13-inch baking dish.
Add the apples: Open the canned cinnamon apples and pour them into the baking dish, syrup and all. Spread them out evenly with a spoon.
Mix the dry ingredients: In a large bowl, combine oats, flour, brown sugar, cinnamon, nutmeg, and salt. Stir until everything looks evenly mixed.
Prepare the butter: Take the stick of cold butter straight from the fridge. Using a knife, cut it into small cubes about the size of dice (tiny squares). This helps the butter blend more easily.
“Cut in” the butter: Add the cubes of butter to the bowl of dry ingredients. Now, instead of stirring, you’re going to “cut in” the butter.
Here’s what that means:
Use a pastry cutter (a handheld tool with little curved blades) or two butter knives.
Press the cutter or knives down through the butter and flour mixture, chopping and mixing at the same time.
Keep doing this until the butter is broken up into very small pieces, and the mixture looks crumbly—like coarse sand with little pea-sized bits of butter throughout.
Don’t melt the butter or mash it all the way in—the little chunks are what make the topping crisp up in the oven.
(👉Tip: If you don’t have a pastry cutter or knives, you can even use your fingertips. Just pinch and rub the butter pieces into the flour until it looks crumbly, but work quickly so the butter doesn’t melt from your hands.)
Top the apples: Sprinkle the crumble mixture evenly over the apples in the dish. Try to cover the whole top.
Bake: Put the dish in the oven and bake for 35–40 minutes, until the top is golden brown and the apples are bubbling around the edges.
Cool and serve: Let it cool for about 10 minutes before serving. It’s wonderful warm, especially with a scoop of vanilla ice cream.